Shooting stock photos – 4th of July Parade in Ypsilanti

Had a great time taking photos at the Ypsilanti Fourth of July parade Wednesday, shooting photos both for stock photo sites and to share with the community. Some things I’m happy I did:

  • I got there half an hour before the parade started, tested out some shots, noticed things I wanted to include (such as the water tower) or avoid (flags with photos of Eastern Michigan University students that were on many lamp posts), checked my camera settings…
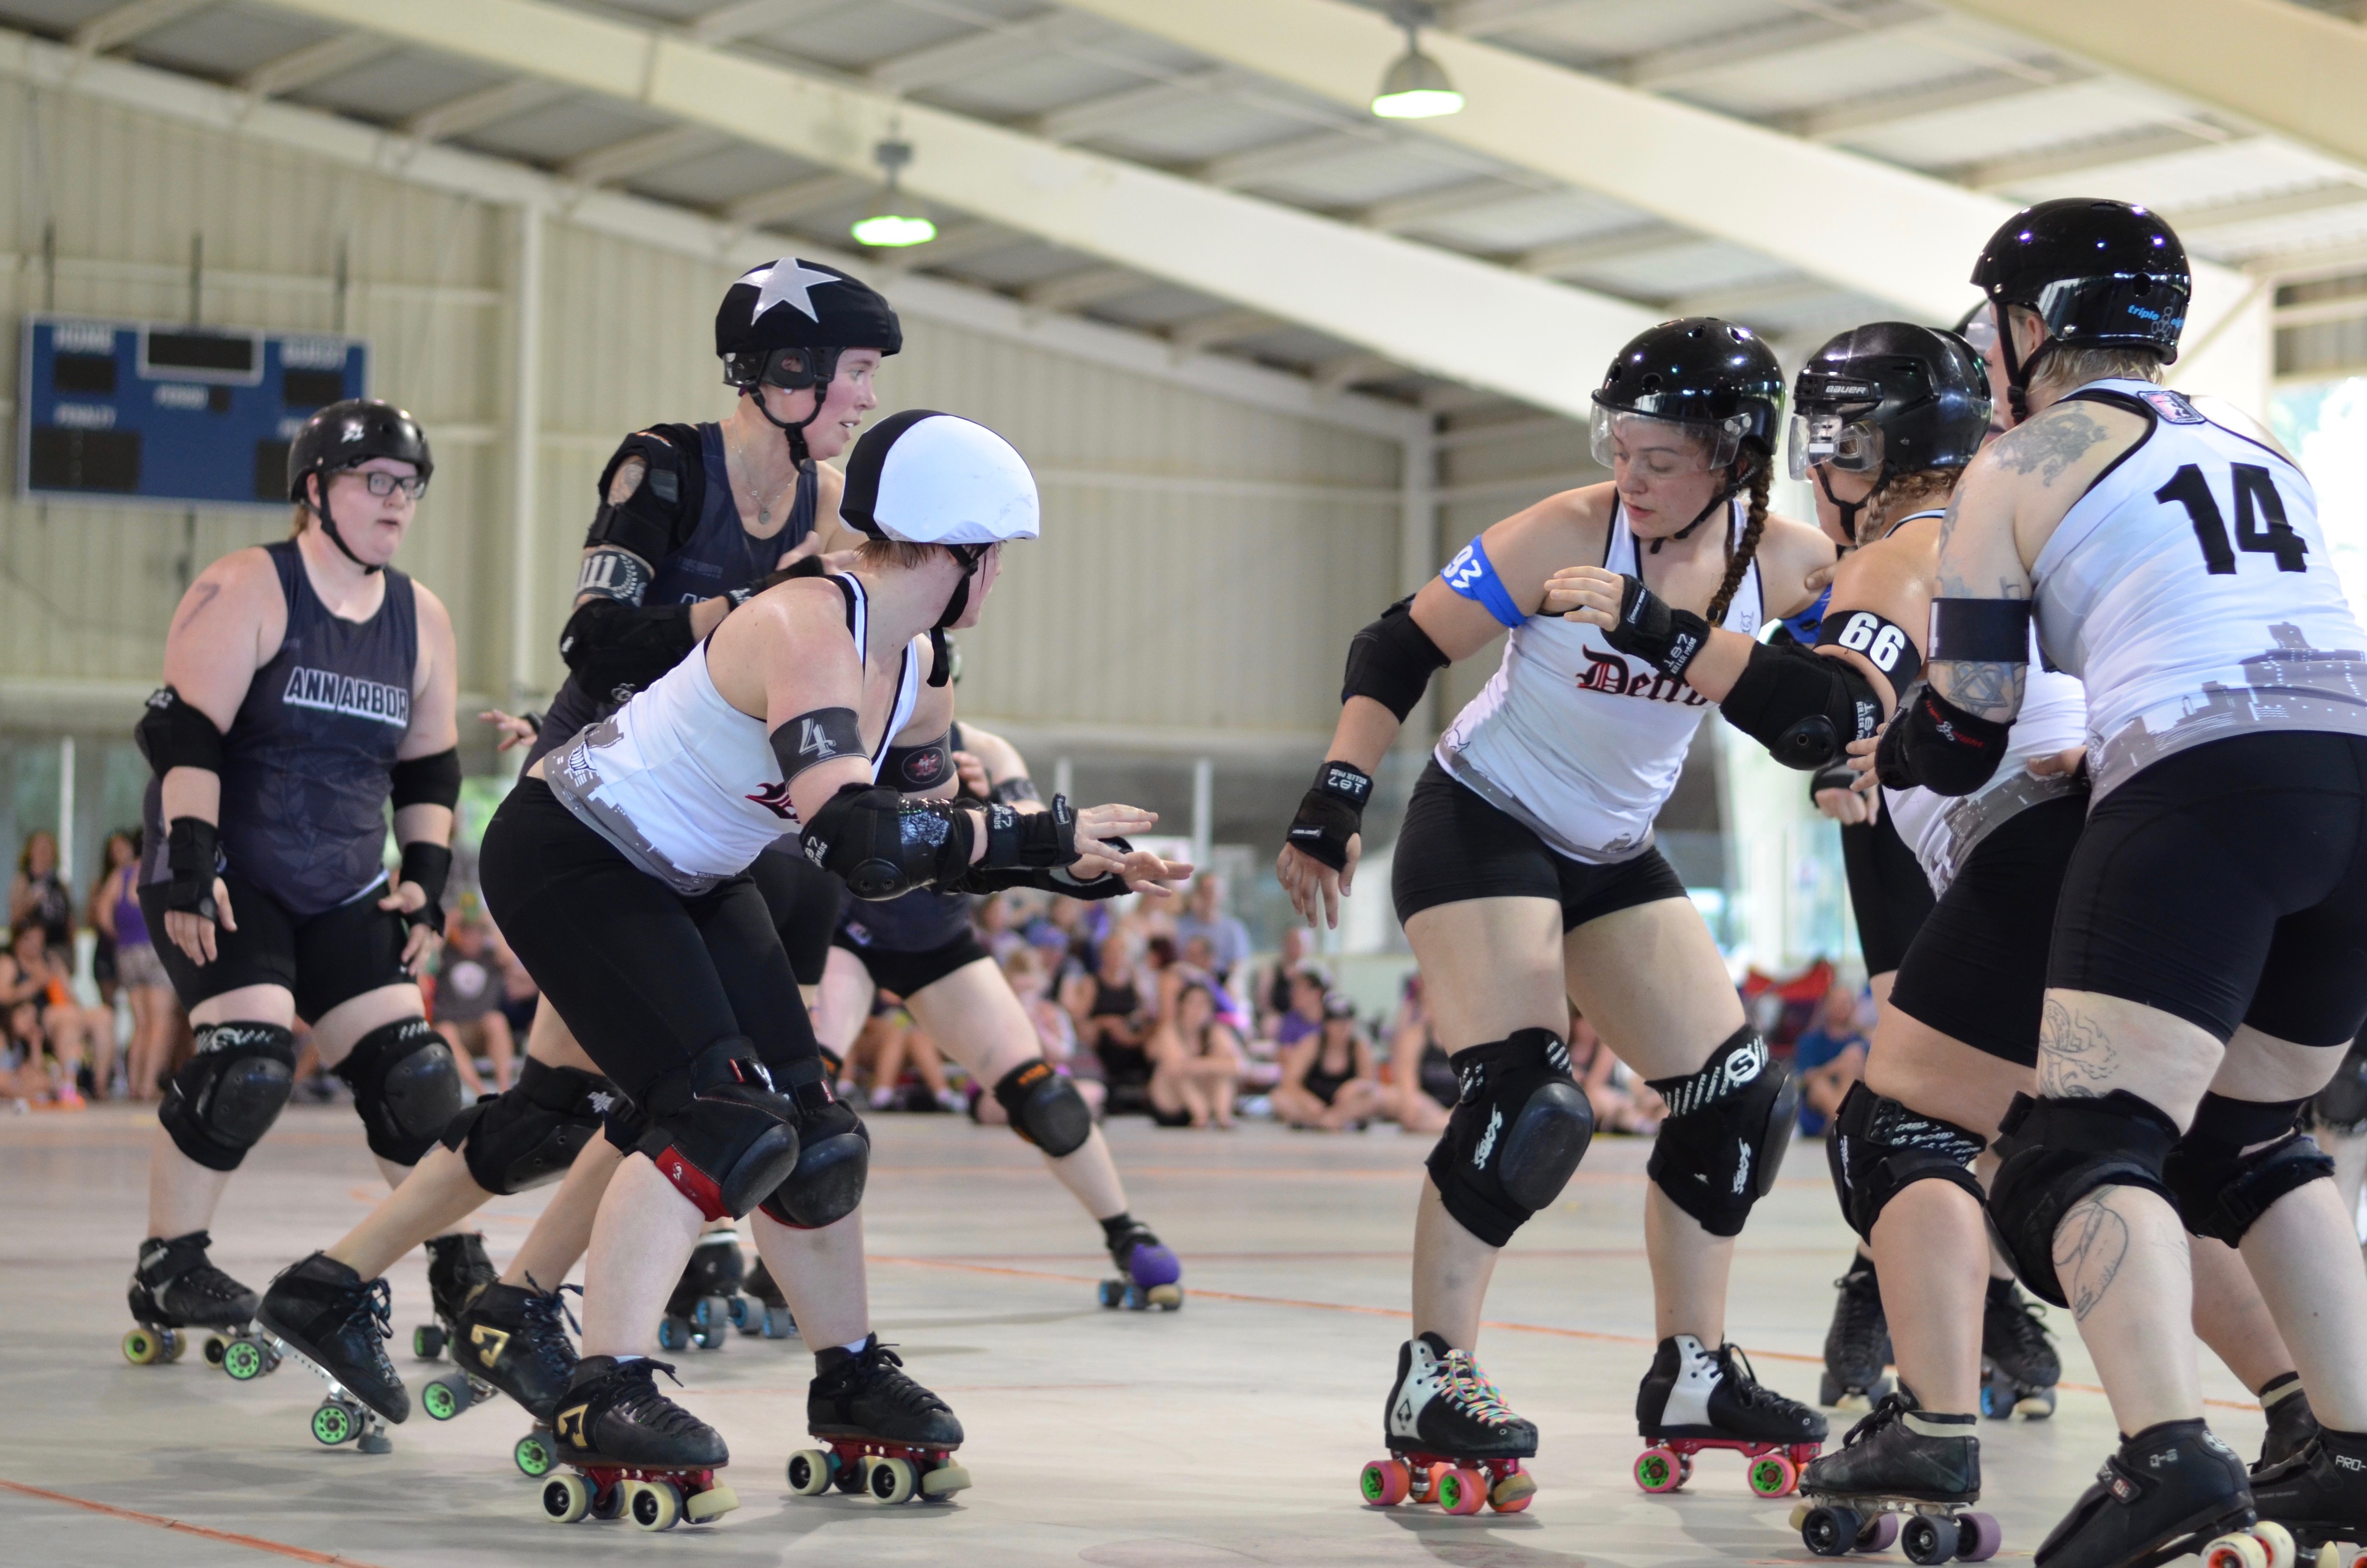
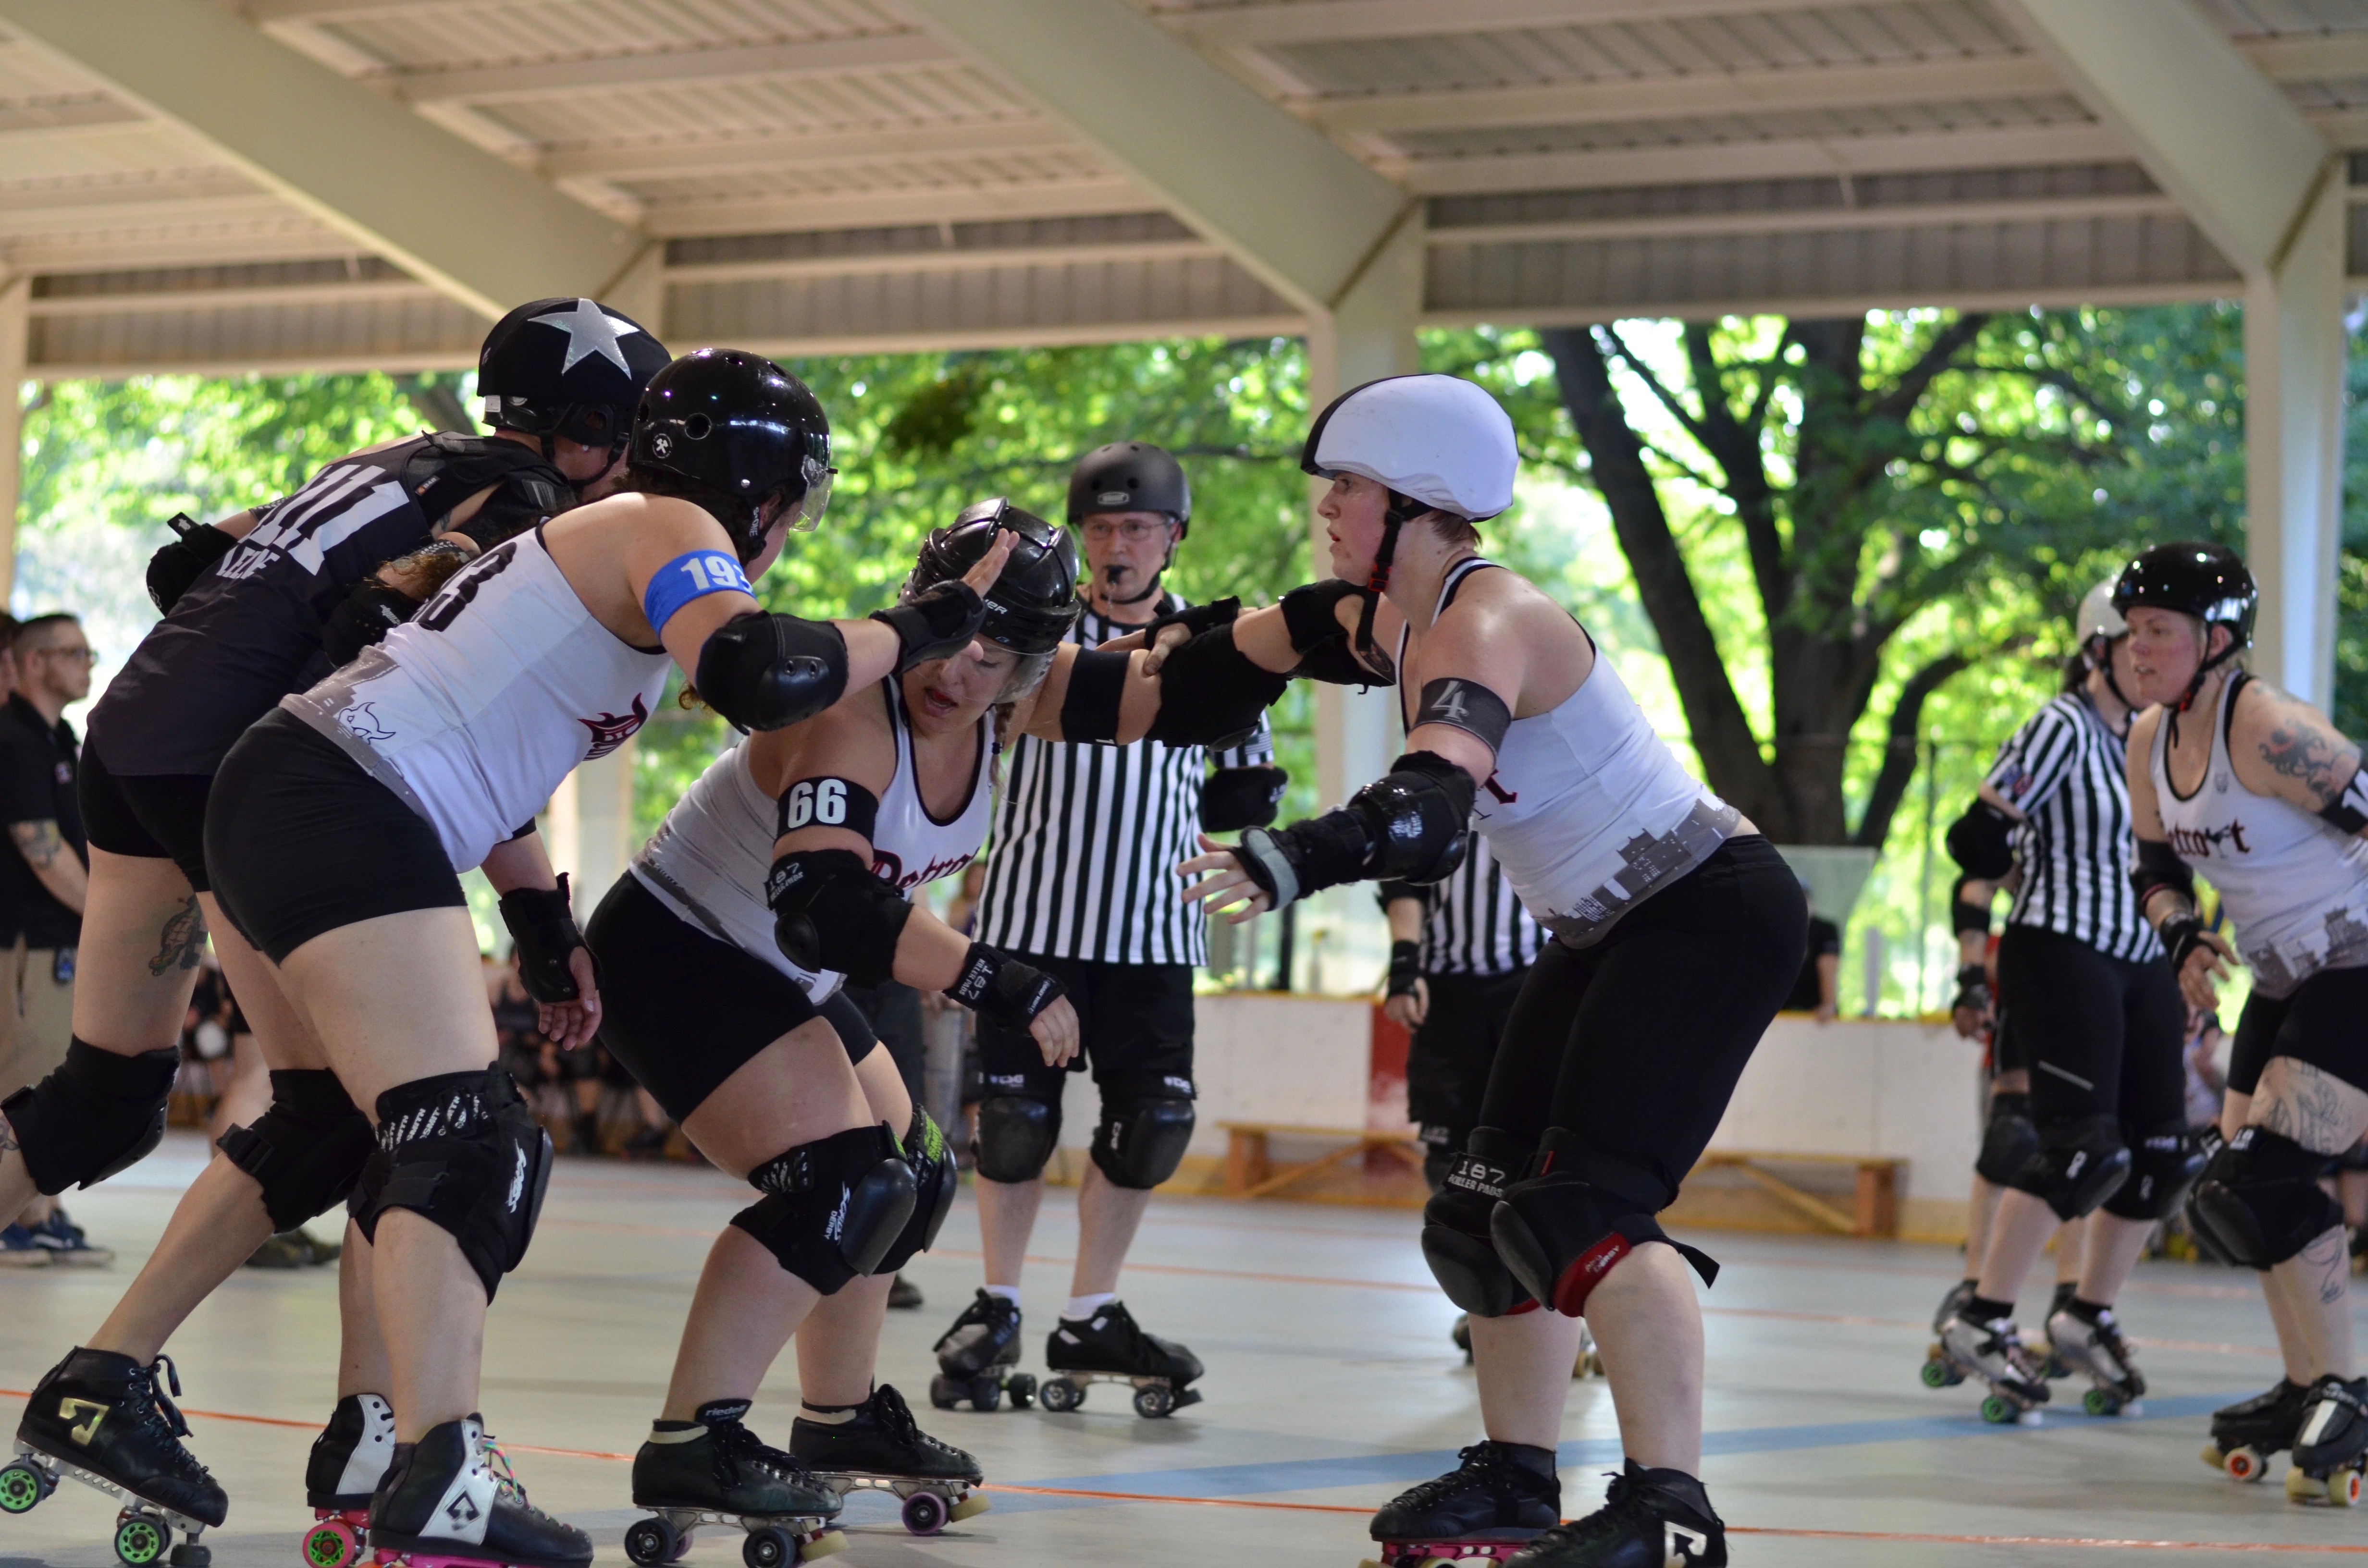
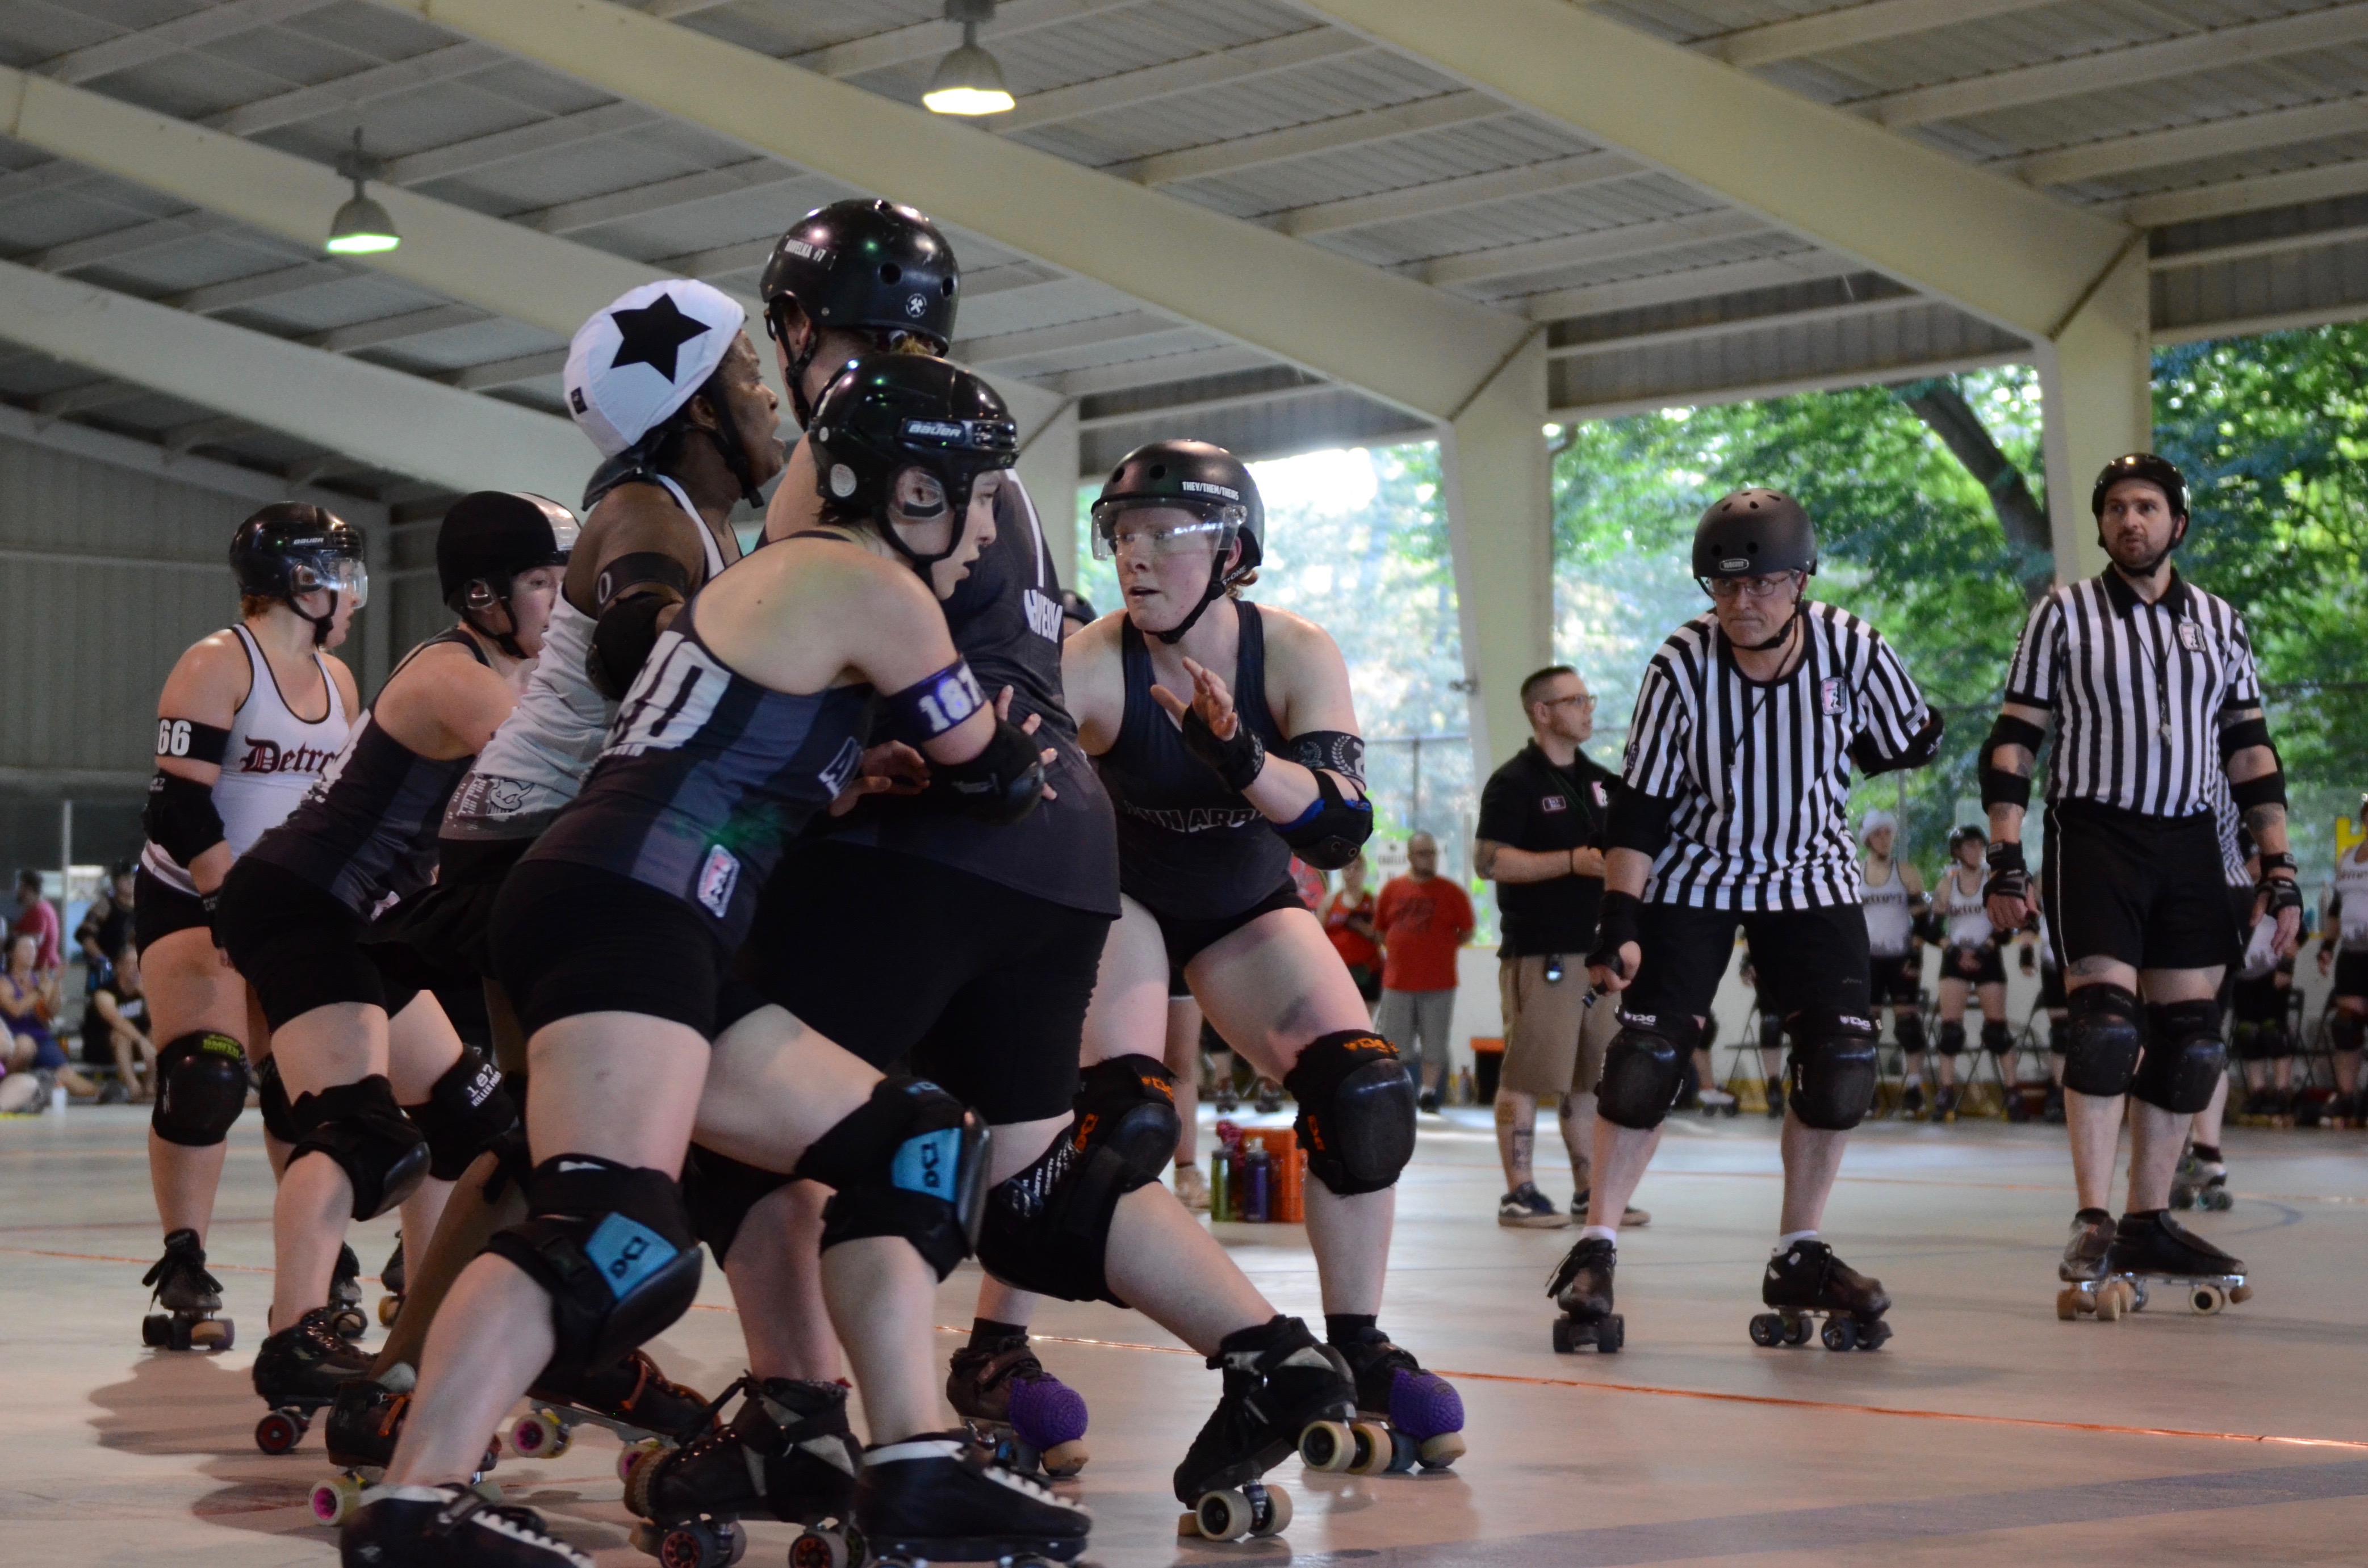
  • Took lots of photos! I love this parade because everyone is so friendly and happy to get their picture taken:
    DSC_9924
  • There’s also lots of space on this block so shots have cleaner backgrounds than in a busy shopping block (though there weren’t as many people in the audience as past years, everyone was protecting themselves in the shade), so you get nice contrasts in the shots without super busy backgrounds:
    DSC_0053.jpg
  • I could get close to the action to get some cool shots, such as this one of some of the original Rosie the Riveters, who are working to preserve the history of Willow Run airport where they built all those bombers during WWII:
    DSC_9947.jpg
  • I could also help promote organizations such as the library bookmobile, the local thrift shop, and the local National Society of Black Engineers Jr. chapter:
    DSC_0081
  • I posted my best photos of each group on my Susan Montgomery Photos Facebook page  to make them accessible to parade participants and spent much of the afternoon contacting them through their websites or Facebook pages so they could access the photos for free, as a courtesy. You can see the ones I submitted to Shutterstock this year and in 2014 here.

Next time I plan to:

  • Review the photos from past years and remember that I liked some that showed the top of the water tower in the background (See Shutterstock link) and try to get some shots with that background in addition to those above.
  • Move to an area where there are more visible audience members, as in this area many were in the shade protecting themselves from the heat, which took away from the energy of the parade participants.
  • Take more shots of some of the groups. In some cases I was not pleased with what I had but moved on too quickly to the next group instead of “traveling” with the group I wasn’t done with and getting another chance at solid photos.

In the meantime, best wishes in YOUR photography adventures.

Susan

Shooting stock photos – Roller Derby again!

(A special note for the folks I know through the University of Michigan: I’m a photographer in my other life and realized a few months ago that LinkedIn rules state you can only have one LinkedIn page, so I had to merge my UM and photography pages, so expect some photo related entries when I update my photography blog…)

I got my camera fixed in time to attend another Ann Arbor Derby Dimes bout last Friday, those wonderfully supportive women who give me free passes to their bouts and a nifty Media Pass…  I got to try my new lens, a Nikon 24-70 mm f/2.8 that I’m proud to say I bought with my photography earnings. I got it at Camera Mall, a very nice relatively new camera shop in Ann Arbor. The folks there are super helpful and supportive. I also took along my “nifty fifty,” a Nikon 50 m f/1.8G that I got a few years ago then didn’t ever use as I got shy about street photography, sigh… But I’m learning to say “oh, well,” figure out the lesson to be learned and move on rather than linger on past mistakes, so, oh, well, at least I had it to use now.

The new lenses made such a difference!  At a larger aperture more light came in, so I could have a faster shutter speed, thus able to capture the action in much better focus, yey! Remember, the aperture is the fraction of the lens that is open, e.g. f/8 on a 50 mm lens means a 6.25 mm diameter opening, so the smaller the f-stop the larger the lens opening when you click the shutter, thus “larger aperture” means “smaller f-stop.”

I also brought my monopod, made me look a bit dorky but at my age I don’t really care much what people think of me anymore, and it added another level of steadiness so the photos came out sharper.

You can see the photos I submitted to them at the Derby Dimes facebook page.  Some of my favorites are:

DSC_9572

50 mm lens, ISO 800, 1/400 sec, f/2.0

DSC_9597

50 mm lens, ISO 800, 1/640 sec, f/2.2

DSC_9745

50 mm lens, ISO 1000, 1/1000 sec, f/1.8

DSC_9892

24-70 mm lens at 42 mm, ISO 1600, 1/500 sec, f/2.8

What I’m pleased about:

  • With the new lenses I had much more light coming in, could go with faster (shorter) shutter speeds, so captured the action better.
  • Taking the time to learn about the sport so I better understand what is going on. Still have much to learn, but I’m getting there, and it helps me anticipate and frame the shots better.
  • How wonderfully supportive the team is of everyone, of each other and of the other teams, and making me feel very welcome.
  • The opportunity to show strong women in action, and never sharing any photos that might embarrass anyone.
  • Including the refs in the photos, for a full shot of the action and to show appreciation for their work.
  • As for backgrounds I like the first photo because the back wall makes for a much nicer background compared to the trees.
  • I notice that 3 of my 4 favorite photos are with the “nifty fifty”, the 50 mm lens, which let much more light in than the 24-70 mm (f/1.8 vs f/2.8). Notice that the aperture it selected for the shutter speed I set is larger than I could have gotten with the 24-70 mm lens.
  • Having the 24-70 mm lens, however, allowed me to also get wider shots than I couldn’t have gotten with the 50 mm, sometimes the 50 mm was too constraining. Notice the last photo is at 42 mm, which allows me to include the refs.

Altogether a very fun evening of roller derby and photography, learning every day.

It really is about getting out there and trying things, messing up, learning from your mistakes, trying again. I got my first “real” DSLR (digital single lens reflex) camera in 2004, shot mostly my kids activities and family trips for a short time, took an online photography class at the local community college in 2010, have taken Lynda.com photography and photoshop courses most summers, took two Great Courses video courses by Joel Sartore of National Geographic in 2014, started this blog in 2014…

Just keep chugging away, keep learning and trying, and next thing you know you’ll feel comfortable with aperture, ISO, shutter speed, etc.

Best wishes on YOUR photography adventures!

Susan

Impostor syndrome rears its head again…

In my day job I often do workshops on Impostor Syndrome, where you don’t think you are good enough, you’re a fraud, and you are going to be found out. I recently had something happen with my photography that I will be able to use as an example in future workshops, thought I’d share it as it might have happened to some of you as well.

So when I first started doing stock photos I had a relatively decent acceptance rate, maybe 75 %, with a number of photos getting denied because of quality issues – Out of focus, poor composition, etc.  And it took me FOREVER to get into iStockphoto, trying year after year until they finally let me in…. When I was catching up on those France photos recently I was submitting lots of photos at a time and I would invariably have sets of a dozen or more photos all get accepted. My first response?  “Wow, their standards must have gone down.”  Seriously, THAT was my response. Luckily I was familiar with Impostor Syndrome, so I could stop and tell myself “Wait!  Is there maybe another reason all your photos were accepted? Is there any chance you are actually a better photographer now?”  I had to laugh. Even knowing all about Impostor Syndrome to the point of doing workshops about it, I still fall for it…  Yes, I have to admit, I have worked hard at it, taken classes in person and online, many things that I would forget about now come naturally, I am indeed a better photographer now, thank you very much…

So lesson for all of us, yes, we always have more to learn and we must remain humble, but let’s take credit for the progress we are making to become better photographers every day and not be so hard on ourselves…

Best wishes on YOUR photography adventures,

Susan

Shooting stock photos – France 2016

Finally processed the photos I took on a trip to France last summer, yey…

I had a few days on my own first, where I visited Giverny and Monet’s house and garden, then had a bit more than a week with my boyfriend, mostly in Paris but also a day trip to Normandy and Omaha Beach area. I was very conscious that this was not a photography trip that he was coming along for, it was a couples trip that I happened to be taking advantage of to take some photographs.

Things I did right:

  • Balanced tourist time with photography time, so as not to burden him.
  • Took photos of every day scenes, like people walking on the streets, and pastry shops:Paris StreetPastries at the Bretteau Jean-Marie  Patisserie, Paris
  • Lined up a shot I wanted then waited for the right combination of people to come into it to make it more interesting:Musee D'Orsay, Paris
  • Took the time to get just the right shot – when my boyfriend was busy doing other things so I wasn’t making him wait forever. I spent over 10 minutes taking more than a dozen shots of this lovely musician while he shopped in the market:Organist entertaining at Marche Aligre, Paris
  • Tried for unusual shots of the Eiffel Tower, with tourists in it:Eiffel Tower, Paris
  • Patiently waited for the wind to be just right to get the cool shot of the weathervane at a train station while waiting for the train to return from Giverny. The weathervane never again lined up before the train arrived, good thing I caught it when I did:Weathervane in Vernon, France
  • Made a note of the names of the streets and tourist signs at photo locations to make it easier to write captions later.
  • Had fun trying to recreate some of Monet’s paintings:Monet garden, Giverny, France

Things I could have done better:

  • Many little technical details and probably missed many shots, but I really enjoyed the trip for itself, the photos were a side thing.
  • Again, process them sooner, it took me months to get back to them. I realized I was overwhelmed by the number of photos I had to get through. Once I realized that the only way to get through them was to… get through them, I was able to break the task up into little pieces: Select favorites, copy them from iPhoto and name them, break them up into little sets that didn’t seem too overwhelming to work on, clean them up on Photoshop, then caption and keyword them. Some days I was all for cleaning up, other days I was more interested in captioning and keywording, I played it by ear until they all got done.

Yesterday I finished the last batch, and submitted the last photos, ended up having over 100 photos approved, yey. You can see the photos that were accepted by Shutterstock here (last few aren’t up just yet, patience..)

Best wishes on YOUR photography adventures,

Susan

Shooting stock photos – Woman’s March in January 2017

Still catching up on old shooting adventures.  In January I participated in and took photos at the Women’s March in Ann Arbor, MI. I learned from past such occasions to get both long, medium and short range shots:

Women's March Ann Arbor 2017

I also have more confidence now to get in front with the other photographers and get close up shots of the speakers, such as our representative Debbie Dingell:

Women's March Ann Arbor 2017

So things I did right:

  • Took short, medium, and long range shots
  • Was more confident getting in there with the other photographers to get the close-ups and crowd shots.
  • Took notes as to who the speakers were for the less famous ones, saved me lots of time later on when adding captions to the photos.
  • I took photos of everyone who asked me to, I am getting much more comfortable interacting with people in that mode.

Mistake I made:

  • Took way too long to process them, should be better about processing them right away, where they can be more useful, and get more downloads…  I find I get such a kick out of taking the photos, but I have to be in just the right mood to process them, both clean up the photos themselves and putting in a caption, keywords, etc. I am mindful that for me this is a hobby and I want to have it stay fun. If this were my day job I would be a lot more diligent about this…

You can see all the photos that I sent to Shutterstock and got accepted here.

Best wishes on your photography adventures,

Susan

From Digital Photography School – Composition in Travel Photos

From Digital Photography School, another National Geographic photographer, Bob Holmes, shares composition tips. They include

  • Knowing your equipment inside out, so it doesn’t get in the way of your photography
  • Developing and educating your eye
  • Finding the “punctuation” in a photograph
  • Seeking strong colors, geometry
  • Injecting excitement and interest
  • Taking responsibility for everything that is in the frame
  • Being fully involved with your subject
  • Being a photographer (versus a tourist, etc.)

Terrific advice! I encourage you to see the video here.

Best wishes on your photography adventures,

Susan

From Picture Correct and B&H – Nature Photography Tips from a National Geographic Photographer

Many of us dream of becoming a National Geographic  photographer..  Picture Correct recently posted a video of a B&H sponsored session by photographer Michael Melford, where he describes some of his travels and experiences.  Definitely worth the time! Catch it here.

You can access other B&H-sponsored videos about composition and technique in photography here there are many worthwhile ones!

Best wishes in your photography adventures,

Susan

From Picture Correct – 28 Genius Photoshop Tricks

From Picture Correct, a bunch (28!) of really great photoshop tricks. I knew a few but I know I’m going to want to remember these:

  1. Quickly whiten teeth
  2. Merge all layers to new layer
  3. The rotate view tool
  4. Change layer opacity hotkey
  5. Choose layers trick
  6. Move layers trick
  7. Change unit of measure
  8. Undo more steps
  9. Apply pattern along path
  10. Apply layer mask trick
  11. Instantly find center of photoshop document
  12. Quickly change colors
  13. How to paint a selection
  14. Beautiful black and white photos with channel mixer
  15. Quickly fill text and color/shape layers
  16. Scale layer styles with layer
  17. Precise painting with the brush tool
  18. Duplicate anything you want
  19. Before/after preview in layers panel
  20. Straightening the PSD
  21. Bird’s eye view
  22. Clip image to type layer
  23. Instagram “fade” effect
  24. Hacking your selection placement
  25. Quick retro color style
  26. Extract assets
  27. Multiple drop shadows and strokes
  28. Interface color easter egg

You can see it in video form at  http://www.picturecorrect.com/tips/28-genius-photoshop-tricks/ .  You can also read about them at http://tutvid.com/photoshop/tips-and-tricks-photoshop-cc/

Note they’re from 2015, so some things might be different in a more recent version. I often just like to know that something is possible at all, I can always look up how to do it in a more recent version but if you don’t even know it’s possible…

From Digital Photography School – Best of 2015 Beginners Photography Tips

From Digital Photography a great compilation of their best guides to photography, including:


Lots of great ideas!


From Light Stalking – 14 Practical Reasons Your Photos Are Not Quite As Good As You Want Them To Be

Ritesh Saini has a great article in Light Stalking titled 14 Practical Reasons Your Photos Are Not Quite As Good As You Want Them To Be

  1. You don’t pay attention to the composition
  2. You don’t know the basics of exposure
  3. You don’t experiment with the perspective
  4. You don’t understand how lighting affects a photograph
  5. You don’t post-process your photos
  6. You haven’t taken up a photography project
  7. You don’t have a well-defined subject in  your photo
  8. You are not studying other photographers’ works
  9. You are totally ignoring the background
  10. You don’t know your camera well enough
  11. You don’t visualize what you’re going to shoot
  12. Your photograph doesn’t convey a story or message
  13. You don’t get your photos critiqued
  14. You don’t practice enough

Get more details and see some of Ritesh’s great photos here.

From Picture Correct – 10 Wildlife Photography Tips for Fall

Picture Correct has 10 Wildlife Photography Tips for Fall , including:

  1. Catch the early morning and late afternoon light
  2. Drop to eye level
  3. Watch your background
  4. Never follow an animal
  5. To get closer, look distracted
  6. Outsmart the wind
  7. Shoot on continuous mode
  8. Make your buffer last longer
  9. Use AF point for composition
  10. Use the center AF point for anything that’s tough to focus on

Check out the article for example photos and a very useful video that describes each of these in more detail.

Milestone – Article based on stock travel photography in Iceland to be published in Digital Photography School!

So back in June I went to Iceland, had a wonderful time… I participated in the GREEN Energy Program then spent a few extra days driving around and taking photos of anything I wanted to, glorious time.  I didn’t write my usual tips article based on my experience for this blog because I proposed an article about stock travel photography to Digital Photography School‘s Tips and Tutorials section and it was accepted! I just learned that it will be published on the 20th of October. I’ll update this entry with a link to DPS when it comes out.  Update October 19th – you can find the article here.

So I saved the tips and my best photos for the DPS article, but here are a few other photos to give you a sense of what a lovely country Iceland is. Many of these photos were taken while on guided tours with Ardar, aka Addi, the best guide ever at South Iceland Adventures.

Got to see lots of waterfalls, such as Seljalandsfoss:

Hvolsvollur, ICELAND - JUN 15: Seljalandsfoss waterfall, shown here on June 15, 2015, was one of the stopping points in The Amazing Race 6 competition in 2014.

Hiked Sólheimajökull glacier:

SOLHEIMAJOKULSVEGUR, ICELAND - JUN 15: Sólheimajökull glacier, shown here on June 15, 2015, has retreated about a kilometer in the past decade.

Had a great time going on a puffin viewing hike at the Ingolfshofdi nature reserve: 

Atlantic puffin looking right, with straw in his beak, gray background

Got up close with an Icelandic horse:

Iceland 8 horse blond head

Had a great time at the Glacier Lagoon:

Iceland glacier lagoon


Beautiful country, lovely people…  You can also see some of my Iceland photos at my Shutterstock site.

October 24 update – Change featured image to a screenshot of the icon for the article at DPS. So cool to see it published and to have some readers stop by the blog and learn from past blog articles!

Photography equipment – Op/tech Utility Strap – Sling

I realized I wrote this up in the August end of month update, but I also wanted to give it its own entry so it’ll be easier for others to find it. If you end up getting a neck-ache from your camera strap after a long day of photography, I strongly encourage you to invest in a camera strap/sling. I’ve been debating it for a year or so and finally did it, and only thing I can say is I wish I’d done it sooner…

I bought an Op/Tech Utility Strap – Sling camera strap, on the advice of the folks at Central Camera in Chicago.  Here’s a photo from the Op/Tech website so you can see what I mean:

camera sling

It’s great to have the camera on the side as you walk around, and then you can move it up when you need it, glides smoothly. I used it on my recent stock photo day and didn’t feel anything on my neck after a long day – Highly recommend it!

Best wishes on YOUR photography adventures,

Susan

From DPS – The 4 Ps – Tips for Improving Your Wildlife Photography

Digital Photography School had a great entry with suggestions on improving your wildlife photography.

1. Preparation – learn about your subject, and your camera, check the weather.

2. Practice – With great “keep in mind” suggestions specific to wildlife photography

3. Perseverance – Take your time and stay quiet

4. Passion – Appreciate and care for your subjects

You can see many more details of each topic and some great wildlife photography to inspire you here.

From Picture Correct – 9 Essential Compositions Rules for New Photographers

So I’m remembering why I don’t do much photography done during the school year, I always forget how long the weeks are!

BUT…  I got this great link to some composition ideas – some of the usual ones but also some new ones that I know I’ll want to remember:

1. Rule of thirds

2. Leading lines

3. Diagonals

4. Framing

5. Figure to ground

6. Fill the frame

7. Center the dominant eye

8. Patterns & repetition

9. Symmetry

Intrigued?  Check it out here, and take the time to view the video, MANY more examples beyond the one shown in the article – lovely photographs!

From Lynford Morton – Nine ways to find more time to take photos

This is one I need to heed myself, as I’ve been having a hard time fitting photography in with the other things going on in my life this month…

Lynford Morton writes in Shutterbug Life with some suggestions to find more time to take photos:

1. Schedule smaller chunks of time

2. Build it into existing hobbies

3. Make it a daily/personal project

4. Make it a part of your family time

5. Make it a social activity

6. Use it with your work or calling

7. Take a camera everywhere – this is the easiest one that all of us could heed…

8. Make it mobile

9. Permit yourself to take bad pictures

He ends with this quote ” If you really want to do it, you’ll make time. If you don’t want to do it, you’ll make excuses.” A reminder that time management is really priority management…  Read the article and listen to the podcast for more details.

From DPS – 10 Ways to Improve Your Travel Photography

Gavin Hardcastle has some great travel photography suggestions in this DPS article  Suggestions include:

1. Focus on faces

2. Shoot fast

3. Learn the lingo

4. Hire a translator

5. Smile and make friends

6. Ask for permission

7. Choose the right lenses

8. Carry two cameras

9. Step out of your comfort zone

10. Take responsibility for your own safety

You can see more of his terrific photographs in his Fototripper blog.

From DPS – 7 Tips and Etiquette for Taking Portraits in Public

Mujahid Urrehman gives some great suggestions in 7 Tips and Etiquette for Taking Portraits in Public.  Interesting comments enrich the conversation. The tips include:

1. Show your presence

2. Engage

3. Ask permission

4. Remember people

5. Show the results and make people feel good about themselves

6. Respect their possessions

7. Say goodbye and inform them of the use of their photo (legal)

Interesting comments add to the discussion. I have been surprised by how many times I am asked to take someone’s photo when I’m on a photo shoot, often they are just happy to pose and then walk away.  If circumstances seem appropriate I offer to email them the photograph – I’ve done that a few times and they seemed to really appreciate getting them.

From DPS – Digital Photography Tips for Beginners

Digital Photography School has a great set of tips for beginners along the categories of:

Basics of exposure

Learning to Use Digital Camera Settings and Features

Handling and Caring for a Digital Camera

Other Beginner Photography Tutorials and Tips

Common Digital Photography Problems and Questions Answered

I have found their short tips to be very useful, I encourage you to take a look –  here

From Digital Camera World – 7 Ways to Make Precise Selections in Photoshop

I recently read this great article in Digital Camera World titled 7 ways to make precise selections in Photoshop. It goes into detail into these 7 techniques:

01 Quick Selection

02 Refine Edge

03 Channel selections

04 Color Range

05 Handy shortcuts

06 Marquee tool tips

07 Select Focus Area

Click here  to access the article – definitely a keeper for me!

Best wishes in your photography adventures,

Susan